In short, the project was a success!
Results from the real data gathering mission with MK5 validated the project abilities as for terrain reconstruction.
The image below shows the produced data (in gray) compared with ground truth obtained with LIDAR (colored). There is some noise in the data, as expected, but the final result is accurate enough to be able to see the tree growth in 11 months between the data sets.
With the knowledge gathered so far it is time to move on to bigger and more challenging things.
project :: shuttler
Wanted to learn something, needed a place to put it all.
Friday, July 11, 2014
Saturday, June 21, 2014
Third Time in the Air (MK5)
Endurance flight, to see how long, how high and how accurate can the plane be flown. And to get some practice and have some fun.
About 15 minutes of flying with all the gear on board, total distance traveled just over 13 kilometers and 220 meters of altitude difference:
On the graph you can clearly see the approach and low flyover the runway, then rapid acceleration while gaining some altitude to circle around and try again.
About 15 minutes of flying with all the gear on board, total distance traveled just over 13 kilometers and 220 meters of altitude difference:
On the graph you can clearly see the approach and low flyover the runway, then rapid acceleration while gaining some altitude to circle around and try again.
Thursday, May 1, 2014
Second Time in the Air (MK5)
Now that the plane is finally fully functional (and can stay in the air more then just few minutes) it's time to make some pictures again.
The plane, manually controlled, flew nice and stable, keeping stable speed and altitude:
This time, 8 minute mission for a 8 kilometer flight, with enough battery left over for a few more flights:
And this time (the interesting bits), panorama with just the landings:
And the reconstruction result was good too:
AVI@TOR MK5 SP1
So the plane flew, lessons were learned and improvements were made.
All of the control surfaces were physically set to the appropriate neutral position, so the next launch can start with zero trim.
The speed regulator was moved to the outside for extra cooling since the motor was cut out a couple of times due to overheating.
The plane was colored in neon colors for easier viewing.
And everything was packed in a portable package, which can be put together in 5 minutes.
The final result:
Monday, April 7, 2014
First Time in the Air (MK5)
Maiden flight of the new plane!
This one got off to a rocky start. With all the modifications to the tail, just levelling the control surfaces was not quite enough to get the plane to fly straight. Look out for unintentional barrel rolls in the video :D
Launching the plane for the first time, it tented to pitch the nose down, taking almost half nose up input to fly it straight. This resulted in a "roller coaster" flight, where some altitude was gained, then controls centred and trimmed little by little. Business as usual.
After landing and physically adjusting the trim settings the second flight was a lot smoother.
Combined flight took around 10 minutes with 10.63km travelled at around 50km/h:
And here is the scenic view:
Monday, March 31, 2014
AVI@TOR MK5
Well, the platform works. The plane flies, the phone steers it, camera takes pictures and software process it. Now, let's tie it all together, and while we're at it, let's upgrade some parts too.
Current limitations to overcome: increase flight time (larger batteries), eliminate the need for a runway and easier transport and assembly. The answer, a bigger and better plane.
Introducing Avi@tor MK5, a Hobbyking EPP-FPV frame with some custom modifications. A pusher plane with the engine on the back that doesn't need landing gear to raise the propeller from the ground, which means it can land anywhere. With a wingspan of 1.8 m it can carry a larger payload, in our case more batteries. To improve it we raised the horizontal stabilizer for easier landings in tall grass. We also improved the strength of the frame by covering it with sturdy canvas soaked in cyanoacrylate glue (poor mans carbon fiber) to better withstand increased weight and rough landings. And designed a wing holding and attaching piece also out of canvas soaked in cyanoacrylate glue to replace stock mounting with rubber bands for increased durability.
The build:
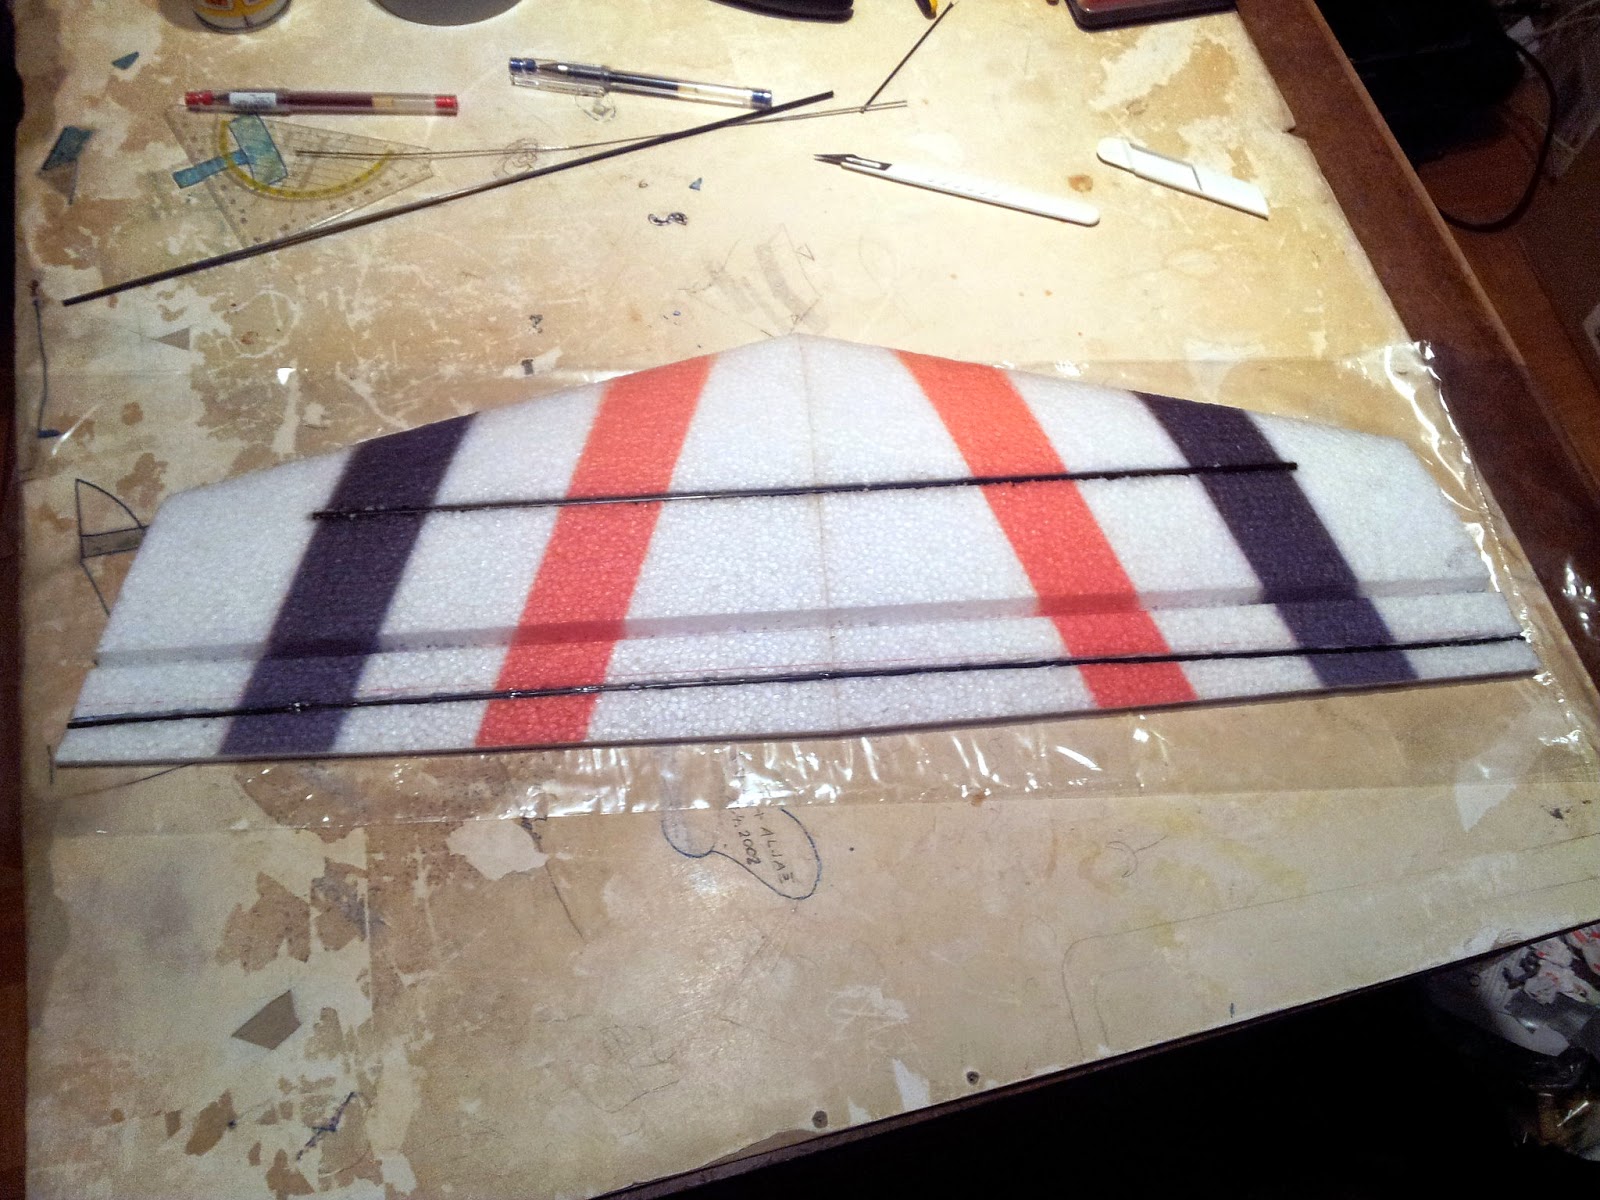
What came in the box (with some tools for the operation prepared in the background). First thing to do, reinforce the horizontal stabilizer with a spare carbon fiber rod.
Next alight the wings, wrap them in clear film, cut a piece of canvas to size, align again and start soaking in glue.
Cut off and recess the the wooden support for the wing mount so it's flush with the fuselage (it'll make sense later).
Extend & expand the obviously too small vertical stabilizer and reinforce it with another spare carbon fiber rod trough the middle. Secure it to the horizontal stabilizer.
Fortify the bottom of the fuselage with the canvas soaked in cyanoacrylate glue combo.
Remove the canvas soaked cyanoacrylate glue mold from the wings, alight it with the fuselage and add more canvas against it. This will make for the reinforced wing assembly that could be easily assembled.
Cut out, align & glue some wooden support pieces that will hold the wing assembly together.
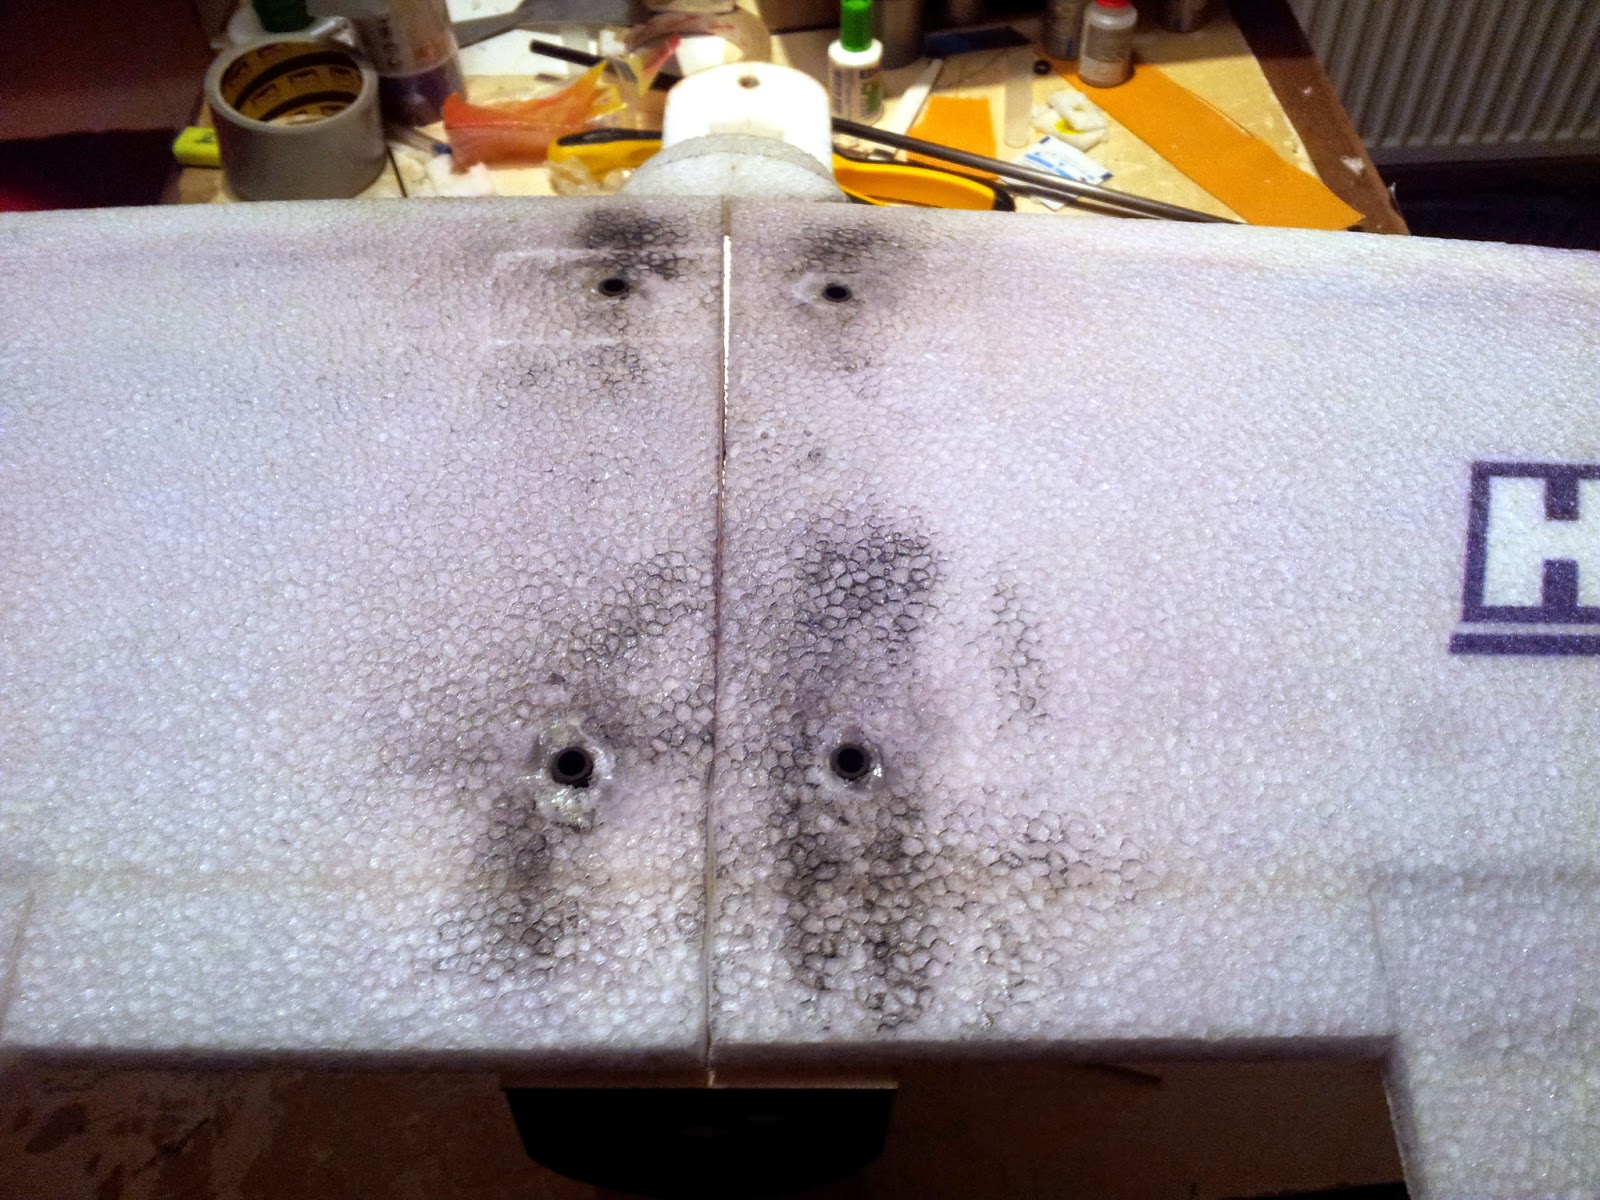
Drill and glue support carbon fiber beams in to the fuselage, also to help hold the wing assembly together.
Also drill the corresponding holes in to the wings and reinforce them with some more wood.
Fill the holes to size with cyanoacrylate glue, using clear film to wrap the carbon fiber beams as molds.
Once dried, cut and sand the beams to the exact size of the wings.
Fit everything once more just to be sure, then glue in the tail boom.
Extend the leads of some high quality servos, wrap them in duct tape (just in case they are ever to be reused in the distant future when the plane spontaneously catches fire), and glue them firmly into the horizontal stabilizer.
Run the wires across the height of the vertical stabilizer, add some some canvas strips and glue for protection and rigidness, and glue the tail section on to the tail boom.
Put a nut on a string and run it trough the tail boom and out the prepared hole in the fuselage. Then tie the servo leads to the string and pull them trough the boom in to the fuselage. Once installed, solder on a servo connectors.
To secure the servo leads and connectors, take a bottle cork, cut it in half, hollow it and glue the wires inside of it. Then just jam it in to the hole.
Once again fit everything, then cut the ailerons on the wings turning them in to ailerons and flaps.
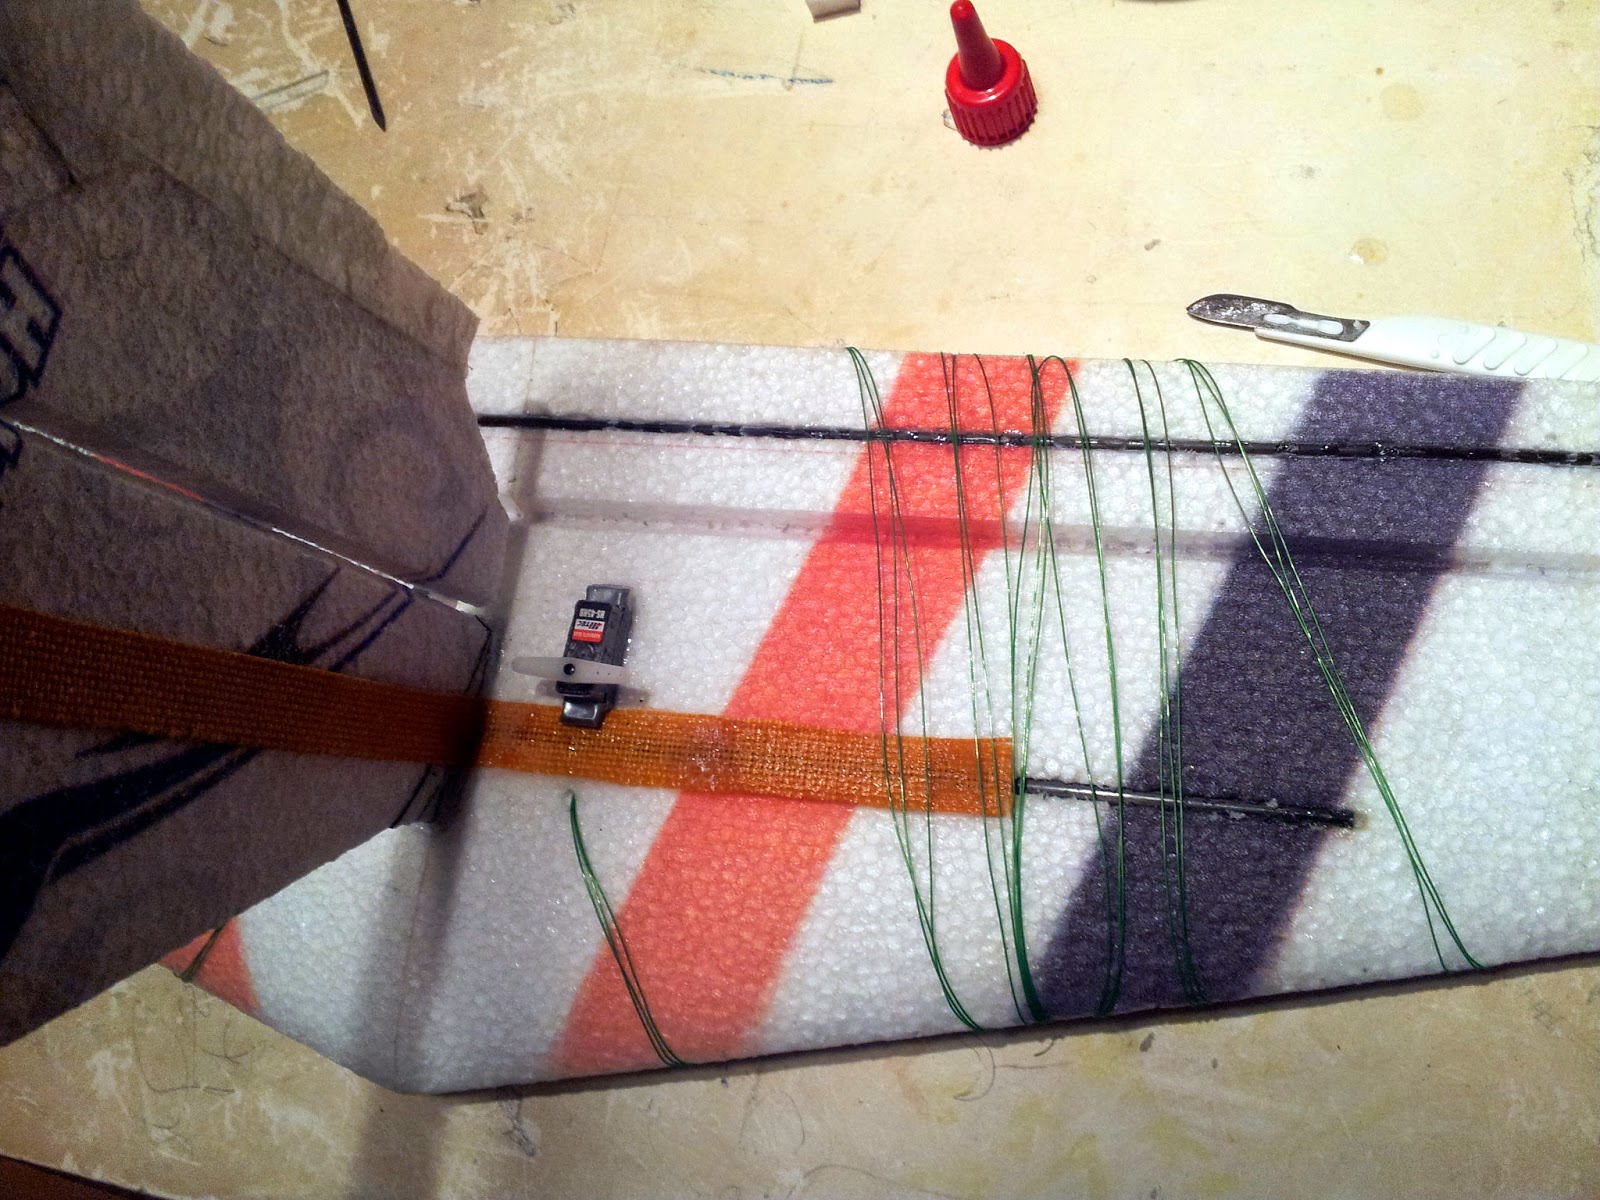
Extend some more leads of high torque servos (just in case) and glue them in to the wing.
To reinforce and lift the motor mount to create enough of a clearance for a bigger prop, cut out and glue a bigger wooden piece.
Then drill the holes in the appropriate places, color it and mount the motor.
Now just add the batteries, wire everything up, check for center of gravity and we're ready for the maiden flight.
Subscribe to:
Posts (Atom)


